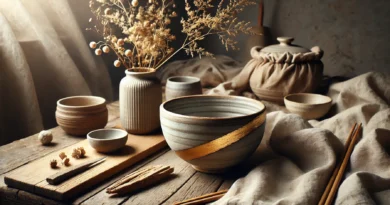
The Magic of Resin Art: Creating Stunning Pieces with Epoxy Resin
Resin art has carved out a special place in the world of craftsmanship and design, allowing for the creation of unique and enchanting pieces. Whether for decoration, jewelry, or personalized objects, epoxy resin offers a universe of creative possibilities. Its versatility allows artists and enthusiasts to experiment with various techniques, colors, and textures, resulting in breathtaking works.
One of the main advantages of epoxy resin is its ability to capture intricate details, creating translucent, vibrant, or metallic effects. This ensures that each piece has a sophisticated yet handcrafted appearance. Additionally, the material’s durability guarantees that creations remain intact over time, making them ideal for long-lasting projects.
With the growing popularity of this technique, many people are eager to learn and refine their skills in resin art. However, to achieve high-quality results, it is essential to understand the necessary materials, the process steps, and some valuable tips to avoid common mistakes.
Essential Materials for Working with Epoxy Resin
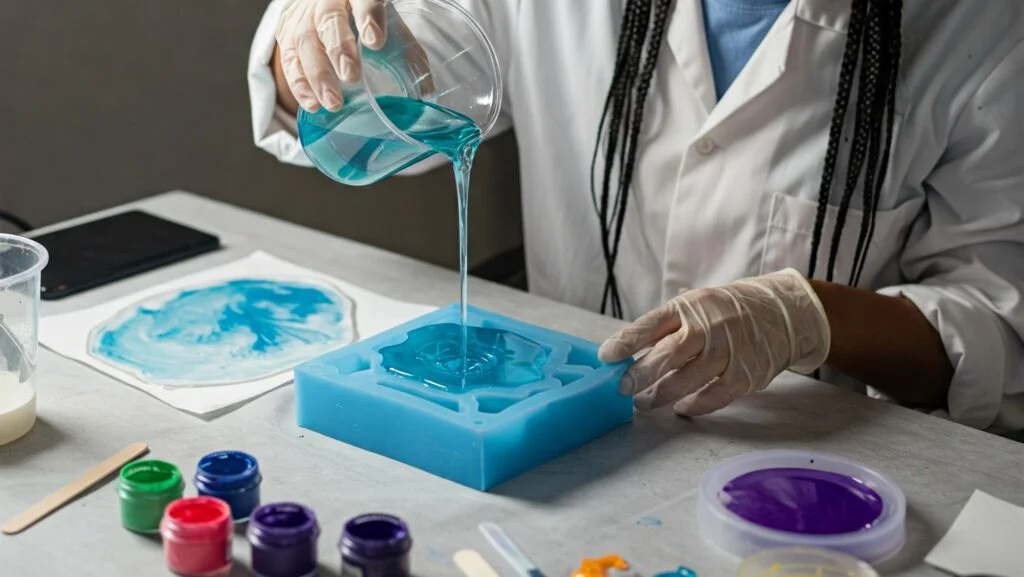
Before starting a project with epoxy resin, it is crucial to gather the right materials to ensure a professional finish. Some essential items include:
- Epoxy resin and hardener: The combination of these two components is necessary for proper curing.
- Pigments and dyes: These can be used to add vibrant colors or special effects.
- Silicone molds: Assist in shaping and make it easier to remove the piece after curing.
- Precision scale: Important for accurately measuring resin and hardener proportions.
- Gloves and mask: Essential for protection, as resin can be toxic before fully curing.
- Stir sticks and spatulas: Used to mix and spread the resin evenly.
Step-by-Step Guide to Creating a Stunning Piece
If you want to venture into resin art, following a simple step-by-step process can be an excellent starting point. Below is a basic guide to creating a stunning piece:
- Prepare the workspace – Choose a well-ventilated area and cover the work surface with paper or plastic to avoid mess.
- Mix the resin – Using the precision scale, combine epoxy resin with the hardener in the ratio specified by the manufacturer. Stir slowly to avoid bubbles.
- Add pigments – If desired, add dyes or glitter to the mixture and stir gently until achieving the desired shade.
- Pour into the mold – Carefully pour the resin into the silicone mold and use a stick to remove any air bubbles.
- Cure the piece – Let the piece sit in a dust-free area for at least 24 hours, or as directed by the manufacturer.
- Finishing touches – After full curing, remove the piece from the mold and, if necessary, sand the edges for a refined finish.
Tips to Avoid Common Mistakes
To ensure your resin art experience is a success, here are some valuable tips:
- Always follow the exact proportions of epoxy resin and hardener to avoid curing failures.
- Stir the components slowly to minimize the formation of air bubbles.
- Use a torch or lighter to eliminate small bubbles on the surface after pouring the resin into the mold.
- Work in a temperature-controlled environment to prevent changes in resin texture.
Exploring New Creative Possibilities
Resin art allows for endless creations, from personalized keychains to furniture and decorative panels. With creativity and technique, it is possible to develop exclusive pieces that stand out in the craft market. Additionally, this art form can become a source of income for those looking to invest in a passionate and lucrative manual craft.
Whether you are a beginner or an experienced artist, experimenting with new ideas and refining your skills with epoxy resin can lead to astonishing results. With patience and dedication, you can create true works of art, captivating clients and admirers of this fascinating technique.